Tag Archives: Sourdough bread

Artisan baking classes scheduled for Oct., Nov. and Dec. Get up to your elbows in flour and fun!

Beef, bread and brewed tea. What can I say, I really enjoy all three.

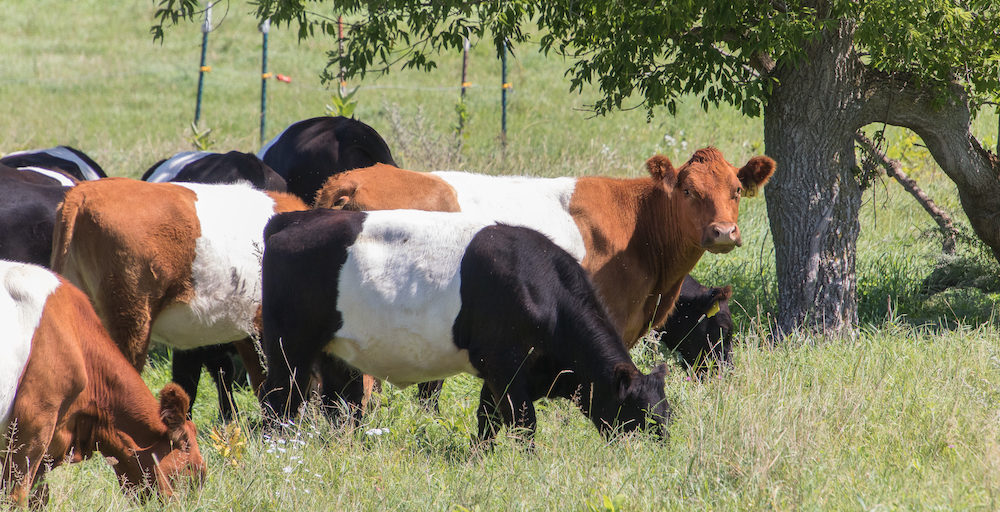
Dave and I raise 100% grass-fed beef using sustainable practices because of the wonderful results: great-tasting beef, happy cows, restored pastures, living soil.
I love baking bread for similar reasons: using healthful ingredients; employing the power of sourdough to raise the dough and to combat many of the anti-nutrients that make breads, seeds and beans difficult to digest; listening to the “yumm’s” when friends and family savor the loaves, pizzas or biscuits; and, sharing the baking experience with students. YOU CAN all bake artisan loaves in your home oven.
Oh, and the tea? Well, I just like milky, sweet tea – English style.

Please click here for the schedule of baking classes in Oct., Nov., and Dec. Classes will focus either on baking with sourdough or baking with poolish (the basis for focaccia, ciabatta and pizza). Classes are hands-on (minimum 4, maximum 6 students, unless otherwise arranged).
Register online, or send me an email and pay with a check.
I’ll soon post the January and February schedules. Email me if you’d like an alert to the schedule.
You can also arrange for private classes with family and friends. Just contact me to schedule, 651-238-8525, sylvia@bullbrookkeep.com

Bring an apron and prepare to eat well, to get your hands covered in flour, and to have fun!
Sylvia

The benefits of sourdough breads of ancient grains w Therese Asmus

Deep Roots Radio
Deep Roots Radio
The benefits of sourdough breads of ancient grains w Therese Asmus
Loading
/

I hope you enjoy this Deep Roots Radio interview with Therese Asmus, of Artistta Homestead, is a long-time baker and teacher dedicated to the nutritional and flavorful benefits of sourdough breads made with ancient grains. She shares research and insights into the nutritional differences among ancient grains and contrasts their digestibility with commercially varieties.

Loaves made with ancient grains


She says many customers who can’t tolerate goods baked with conventional varieties can now enjoy bread again.
Sylvia

Baking French sourdough without $$$ artsy extras. Some alternatives.

I’ve been baking bread a long time, and I’ll admit it – I love the equipment and gadgets that come with artisan baking. Thing is, those extras can add up to some serious change. Can you bake great French sourdough without a $35 willow banneton, a $15 lame, or pricy organic rice flour for dusting a linen couche? Can you get a high, lofty loaf without the aid of a steam-capturing dutch oven. And what about those large plastic buckets used for the first (bulk) fermentation? Nobody gives those away.

Lovely crispy crust

Lovely crispy crust

I didn’t have any of these things when I first started baking bread. Now, I’ve got all of them. I was brought up short recently when one of my baking students said she was “disenchanted by the expensive extras” needed to produce the deep brown crust and open crumb of French sourdough.

And so, this challenge to myself: to share lower-cost alternatives.

Here we go!

Options for the first rise aka bulk fermentation

Options for the first rise aka bulk fermentation


The first rise (bulk fermentation). I use plastic buckets, and if you’ve got one, great. If not, use whatever you have on hand that’s big enough to contain your dough as it rises, and that’ll let you see its progress. Any large bowl or metal pot will do. Caution: make sure whatever you use is food grade. Don’t use a container that once held toxic substances.
To keep dough surface moist. You want to make sure the dough’s surface stays moist and pliable. I use elasticized plastic caps purchased at my local grocery store. I like them because they’re sturdy enough to reuse 4-6 months. That said, you don’t need them. Use plastic wrap. Re-use the food-grade plastic bags your veggies/fruits came in. Be sure to lightly oil the surface facing the dough so that it won’t stick to it.
Bannetons and towel-lined colander

Bannetons and towel-lined colander


For the second rise. I just love willow and wicker baskets for raising the shaped loaf. (They’re called bannetons or brotforms.) But are they required? No. Instead, line a colander or bowl with a really well-floured towel (sack or other close-weave, not terry). Don’t have an extra towel? A clean old cotton shirt or sheet will work. Cut it to a generous size, and flour it like crazy.
Knife, commercial lame, and a DIY version

Knife, commercial lame, and a DIY version


Scoring your loaf. We score, or slash, a loaf so that the crusts rises without tearing the loaf. Lots of bakers use this step to cut a signature design into each loaf. A lame is the professional baker’s choice, but you don’t need to spend big bucks. This short video demonstrates how you can assemble your own in about 10 seconds.
I’ve also gotten good results with sharp knives, especially those with very small serrations. The objective is to create clean slashes; you don’t want to drag your knife or razor through the dough. Have fun!
Parchment paper. You need some way to get your risen loaf from the form (banneton or towel-lined colandar/bowl) to your hot oven. Some people sprinkle coarse cornmeal on a peel or cooking sheet. I don’t because any cornmeal sticking to the loaf burns during the bake, and I don’t like the char taste. Parchment paper is a “must have” for me.
Metal peel, a curl of parchment paper and some old sack towels

Metal peel, a curl of parchment paper and some old sack towels


A peel. – I use a metal peel to transfer my scored loaf into the oven. I used to use a wooden one but found it a bit clumsy. A cookie sheet works.

Baking. Baking bread in a dutch oven has become wildly popular because the enclosure captures steam rising from the bread during the first 20 minutes, an environment that encourages fast expansion, and thereby, a loftier loaf. It’s a home-baker’s way of approximating the steam-injected space in professional ovens. Does it work? Yes. Is it required? No.
(If you do decide a dutch oven’s the way to go, however, use whatever’s in you kitchen now. Or hunt down an inexpensive buy at your local thrift store or garage sale.)


This non-dutch oven alternative has two components: the surface you’ll bake on, and a way to add steam to the hot oven.
1) Before you turn on your oven:
Place an old, beat up cake or pie tin on the oven floor. You’ll use this tin to add steam to the oven. This will corrode the tin, so consider it for this use only.
Place a pizza stone, old cast iron griddle (smooth side up) or cookie sheet in the oven.
2) Pre-heat your oven to 500 degrees F.
3) Put your peel (or an extra cookie sheet) on a flat surface. Cut a sheet of parchment paper larger than your risen loaf. Place the parchment over the dough while it’s still resting in your form. Invert your risen loaf,, with the parchment, onto the peel.
4) score the loaf and spray with water
5) Open the oven door and pour 1/2 c of water into the pan sitting on the oven floor. BE CAREFUL of the very hot steam.
6) Spritz the oven walls with water, quickly.
7) Slide your love(s) onto the pizza stone, griddle or cookie sheet.
8) Close the oven door. Wait 30 seconds, then spritz the oven walls again. BE CAREFUL not to drip water on the glass of your oven door or to spray water on oven bulbs.
9) Bake as directed.

Interested in baking sourdough? Drop me a line, sylvia@bullbrookkeep.com. I hold hands-on classes for small groups of 4-6.
Sylvia

Baking French Sourdough – Class March 20, 9:00AM-1:00PM

SOLD OUT
By request, another sourdough bread baking class is scheduled for
March 20th, 9:00AM-1:00PM.
Where? The teaching kitchen at Bull Brook Keep, an easy ride from Minneapolis/St.Paul

Yes, you can made hearth bread -a French sourdough, and variations – in your home oven to fit your schedule.
Click here for more information and to register.
Class is hands-on and limited to 6 students.


Questions? Sylvia Burgos Toftness, 651-238-8525, sylvia@bullbrookkeep.com

Hearth breads made with poolish. Say, what?

Why is it that the hearth breads taste so good? Why do they have those wonderful brown crusts that crunch and shatter when you bite into them? And those holes! When you slice or tear them, their interiors are filled with large glossy holes perfect for holding butter and olive oil and tapenades. Why can’t you make them at home? Do you really need a wood-fired oven?

Hold on…let’s get rid of the myth first. You can bake hearth breads in your home oven. It’s not rocket science, but like anything worthwhile, hearth baking takes a bit of planning and time. Fortunately, however, you’re not chained to your kitchen. On the contrary; you use time, temperature and wet doughs to bend the bread-making process to fit into your schedule.
One strategy is using a pre-ferment – a portion of the total dough that’s mixed hours ahead of the bake. Why? Because a long contact between the water and flour helps free up more of the starches, sugars and proteins that help create great flavor. A pre-ferment also gives the loaf a longer shelf life.
One type of pre-ferment is called a poolish. (Some bread experts believe the term is of Polish origin, hence the name.)

Easy to make poolish starter (pre-ferment)

Easy to make poolish starter (pre-ferment)

It’s an easy-to-make batter made with flour, water and a tiny bit of yeast. You make it 4-16 hours before making the final dough. During those hours, it ferments on your kitchen counter or in your frig, a cold closet or in a chilly root cellar. The colder you keep it, the longer you can extend this process. You can tell it’s ready to use when the thick batter’s filled with bubbles and smells sweet.
When you’re ready to bake, you combine the poolish with the rest of your flour, additional water, sometimes a smidge of yeast, and salt to make up the final dough.
Focaccia with herb oil and freshly cracked salt

Focaccia with herb oil and freshly cracked salt

Loaves made with poolish include ciabatta, pizza, focaccia and other rustic breads.

Learn to make hearth breads using poolish at my hands-on class Tuesday, February 16 at Bull Brook Keep. I’m also holding a class on sourdough breads February 20. Classes are limited to 5 students. For details and to sign up, click here.
Sylvia

Of snow plowing and sourdough baking

Feb. 3, 7:00AM
Last night, before shuffling off to bed, put two baskets of raw dough into the very chilly root cellar for a slow rise. (Could’ve used the frig, but it’s packed right now.) I also set the oven to pre-heat to 500 degrees by sun up this morning.

The snow was still falling horizontally at 11PM, driven by a strong and nasty north wind. A quick flick of the deck light told the tale: sloping drifts packed hard as cement.
The snow fall had started benignly enough yesterday at about noon – big, beautiful flakes swirling over the fields. And although it was falling heavily, I could still see the cows munching on bales of hay on a distant pasture. No more. Over the course of the afternoon and evening, 20+ mph winds built drifts 2 1/2 feet high in some spots, and left bare ice patches here and there. February.

I went to bed knowing I’d have to spend lots of time in the tractor today; first plowing the long driveway, and then clearing pathways across fields and ditches to get hay to the herd. I’d have to fit my bread baking into the needs of the day. It’s why I set the oven to pre-heat. The first loaf is nearly done.

Fortunately, bending the bread-baking process is something I – and you – can do by baking with very wet doughs, and using temperature and time to determine how quickly we want the the dough to rise. We can use these factors – water content, temp and time – to create loaves with crispy crusts and tender crumb (the insides) that are open, airy and delicious. In fact, a goal is big, glossy holes – a sign that the bread had a good, long rise that took full advantage of all the proteins and sugars in the flour.

The second loaf, a nice round boule, is in the oven. 15 minutes to go.

French sourdough boules

French sourdough boules

A fresh batch of thick and frothy sourdough starter sits on the counter nearly ready to combine with bread flour, semolina flour and water for loaves I’ll make later today. And then there’s the big bowl of bubbling poolish – another type of yeast mixture – I’ll use to make either ciabatta, focaccia, pizza or some other type of rustic loaves. I’ll slip these starters into the 45-degree root cellar to slow their activity and keep them strong and fresh for baking later today, after I’ve moved some snow.

Baking great hearth breads in your home oven to fit your busy schedule. You can do it, too Sign up and learn how. Hands-on classes Feb. 13 and 20.

8:09AM and the first two loaves are out of the oven. If you listen closely, you can hear the crusts crackling as they cool – it’s called the “bread song.”

Now, to plow.

Sylvia